Updating Operating System
First, update your Ubuntu operating system to make sure all existing packages are up to date. Also please be careful before system update. You can skip this steps if you are not sure if it will break your current application.
sudo apt update && sudo apt upgrade -yInstalling Latest Apache
Before upgrading, you should check the current version of Apache 2 webserver you have currently running.
apache2 -voutput
Server version: Apache/2.4.29 (Ubuntu)Adding Apache PPA
The first step in upgrading your Ubuntu 20.04 Apache webserver to the latest version is adding the PPA by Ondřej Surý’s. For those unfamiliar, Ondřej is the maintainer for PHP on Debian and maintains the latest Apache PPA for Ubuntu along with Nginx and PHP.
To add the PPA, use the following command in your terminal.
sudo add-apt-repository ppa:ondrej/apache2 -y && sudo apt updateThis will automatically add the PPA and refresh to update your repository list.
Upgrade Apache from PPA
Now, you can run the apt package manager install command, which will upgrade Apache 2 web server as follows
sudo apt install apache2Alternatively, you can use the update and upgrade as follows.
sudo apt updateIf an Apache 2 upgrade is available the run the following.
sudo apt upgrade apache2 -yVerify version and Apache status
Once the upgrade is complete, check the version of Apache you are using now with the following command.
apache2 -voutput
Server version: Apache/2.4.51 (Ubuntu)As you can see, the version has changed from the Ubuntu default repository version Apache 2 build is 2.4.41 to the latest Apache build provided by the PPA by Ondřej Surý build 2.4.51.
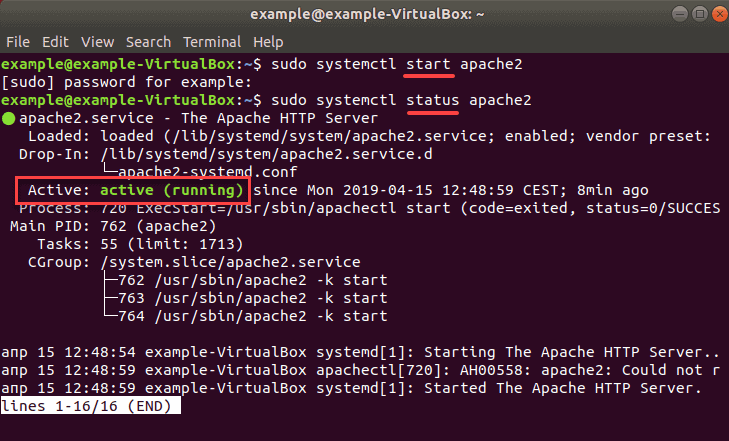
Lastly, verify the status by using the following systemctl command.
sudo systemctl status apache2
Congratulations, you have upgraded Apache to the latest version on offer.
